How To Check A Faulty Temperature Sensor?

TL;DR — Quick Summary
- Thermocouples and RTDs (Pt100 sensors) often fail due to wiring issues, mechanical damage, environmental stress, or signal errors.
- Common symptoms: erratic or drifting readings, very high or low values, and sensor break/open circuit errors.
- To test a thermocouple, use a multimeter in continuity mode—if it shows “OL” or no beep, it’s likely broken.
- To test an RTD, use a multimeter in Ohms (Ω)—a working Pt100 should read close to 100 Ω at 0°C.
- Always check sensor wiring, cable type, controller settings, and transmitter configuration before replacing the sensor.
If in doubt, contact our experts at 01246 261999 or websales@peaksensors.com.
What Causes Temperature Sensor Failures?
Temperature sensors, including thermocouples and RTDs, can degrade or fail for several reasons:
- Environmental Stress: Heat, moisture, or corrosive materials degrade the sensor.
- Mechanical Stress: Bending, crushing, or vibration can snap internal wires.
- Electrical Issues: Overvoltage or EMI can affect signal quality.
- Age/Wear: All sensors degrade with time and use.
- Contamination: Dirt or oil can interfere with the sensor tip.
- Improper Calibration: Drift or inaccuracy due to poor calibration or wrong input settings.
- Manufacturing Defects: Loose wires or weak solder points.
Tip: Regular maintenance and correct installation can help prevent sensor failure.
Common Signs of Faulty Temperature Sensors
Faulty Thermocouple Symptoms:
- Erratic or jumpy readings
- Very high temperature (open circuit)
- Negative/very low temperature (short circuit)
- Gradual drift
- Noise or interference
- Physical wire damage
Faulty RTD (Resistance Thermometer) Symptoms:
- Unstable readings
- Open/short circuit error on display
- Inaccurate, drifting values
- Poor linearity
- Overheating due to high sensing current
- Damaged probe or lead wires
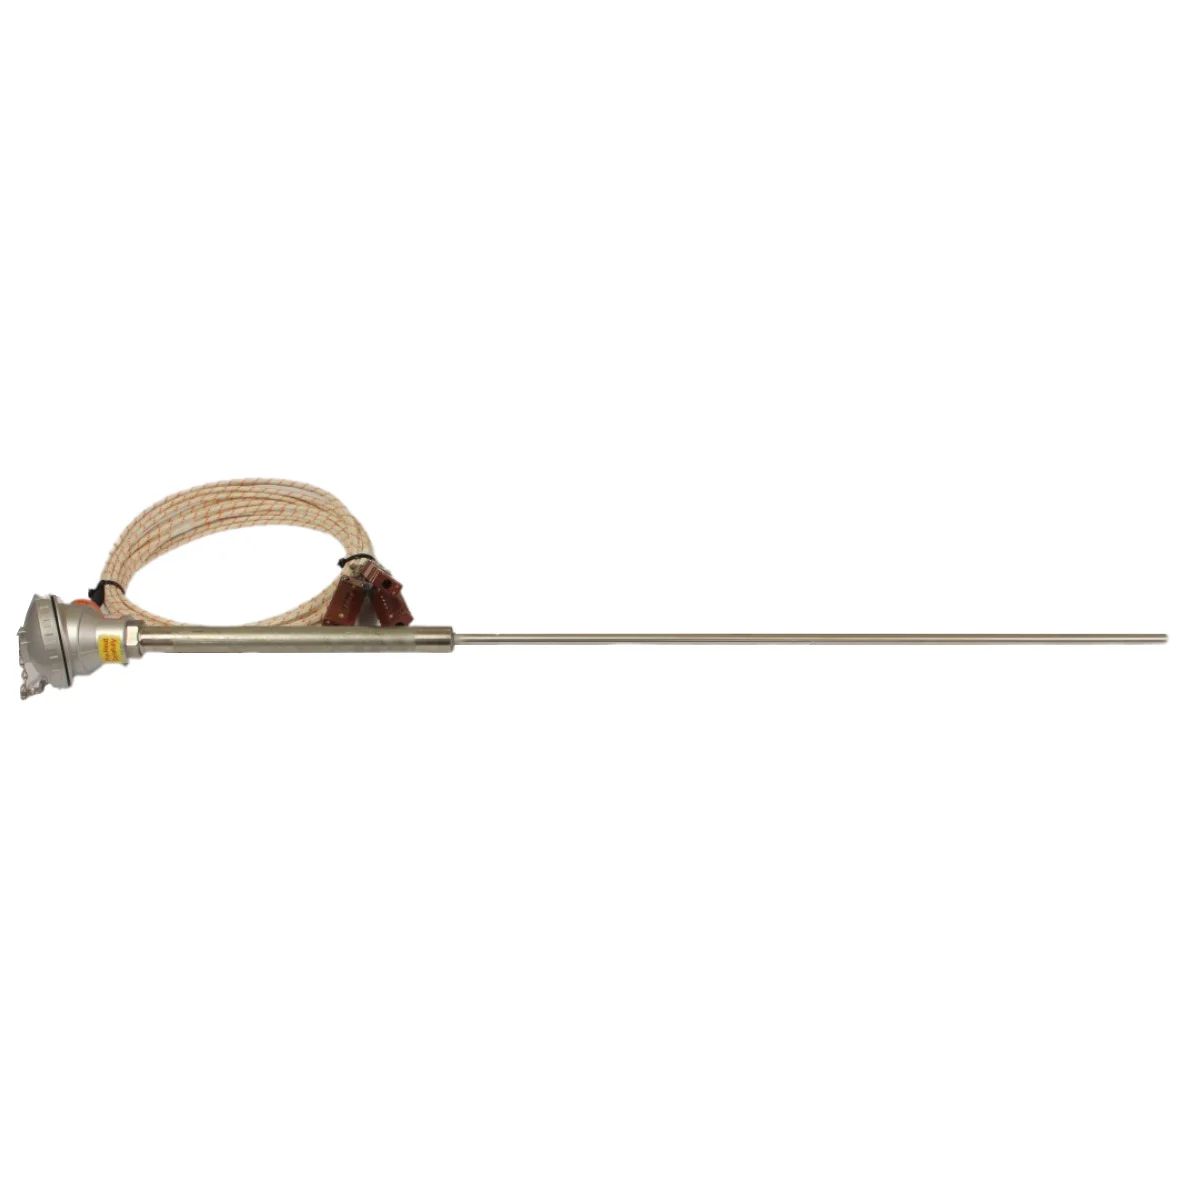
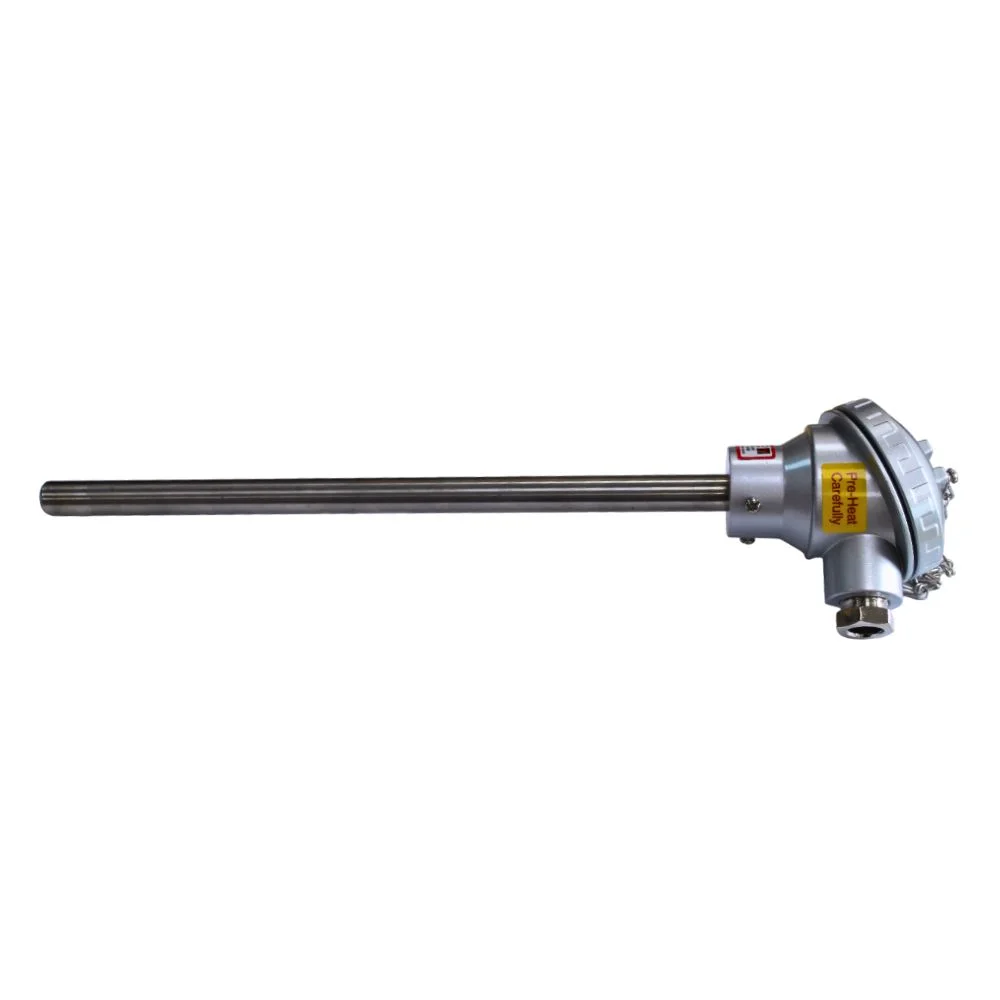
How to Check a Faulty Thermocouple
Tools Needed:
- Multimeter with continuity and Ohms settings
- Thermocouple type chart (e.g., for Type K, J, etc.)
Step-by-Step:
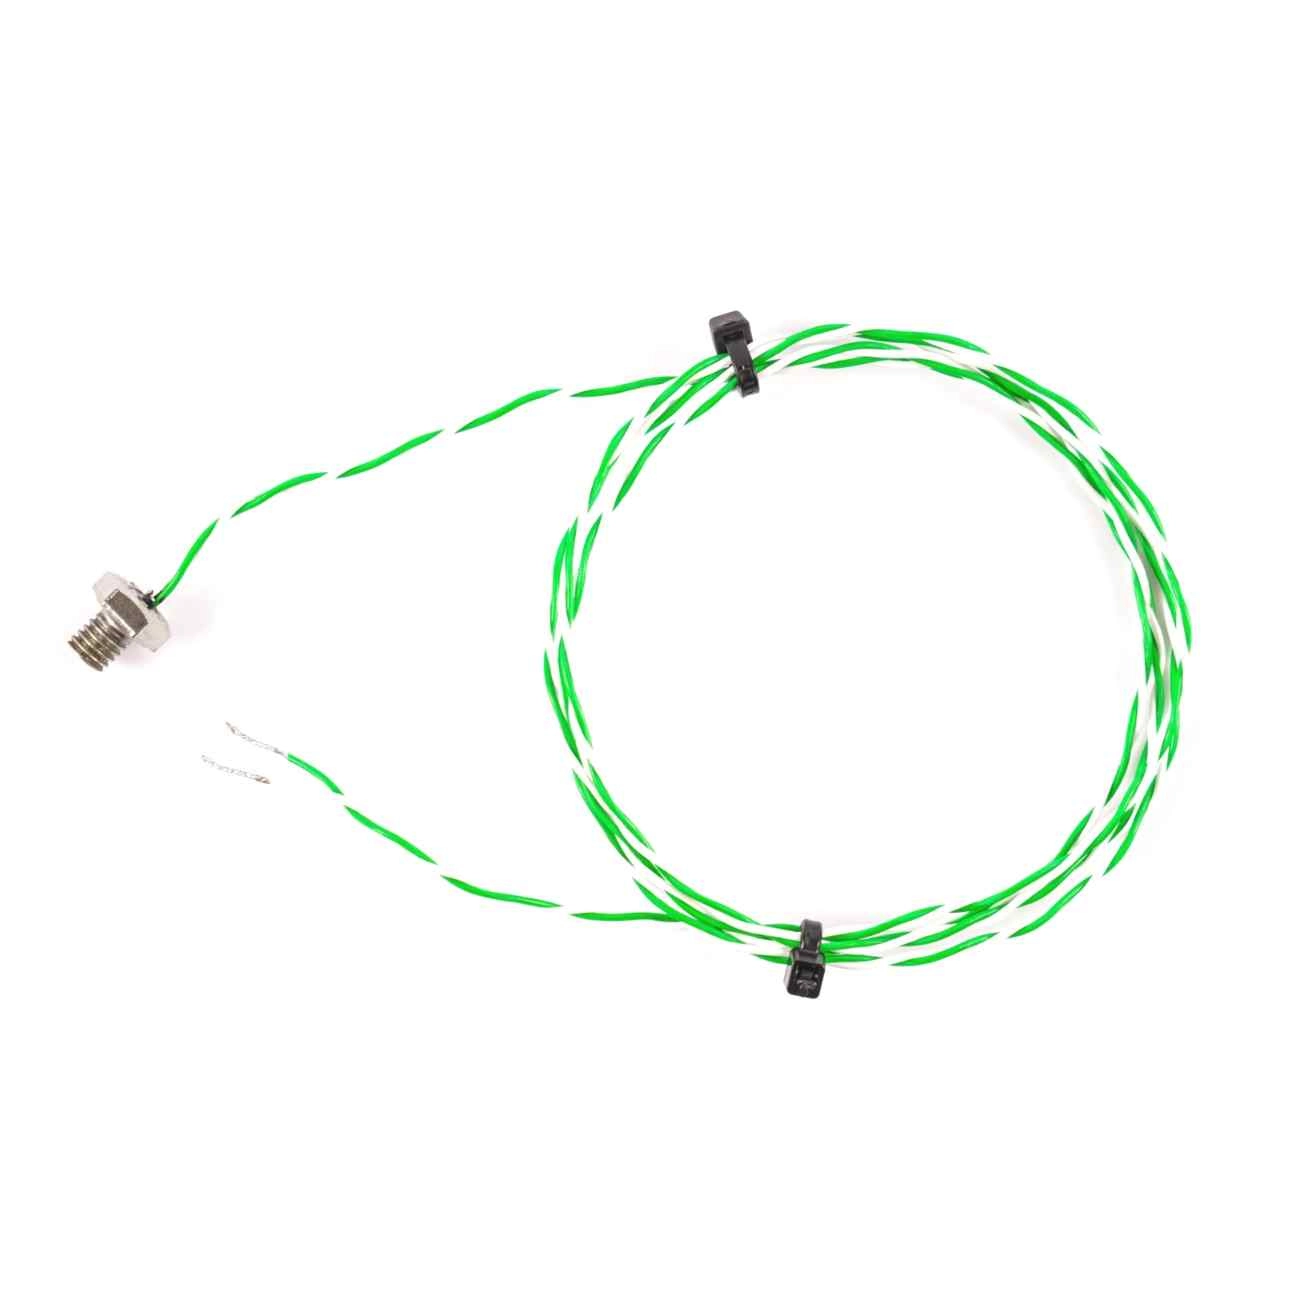
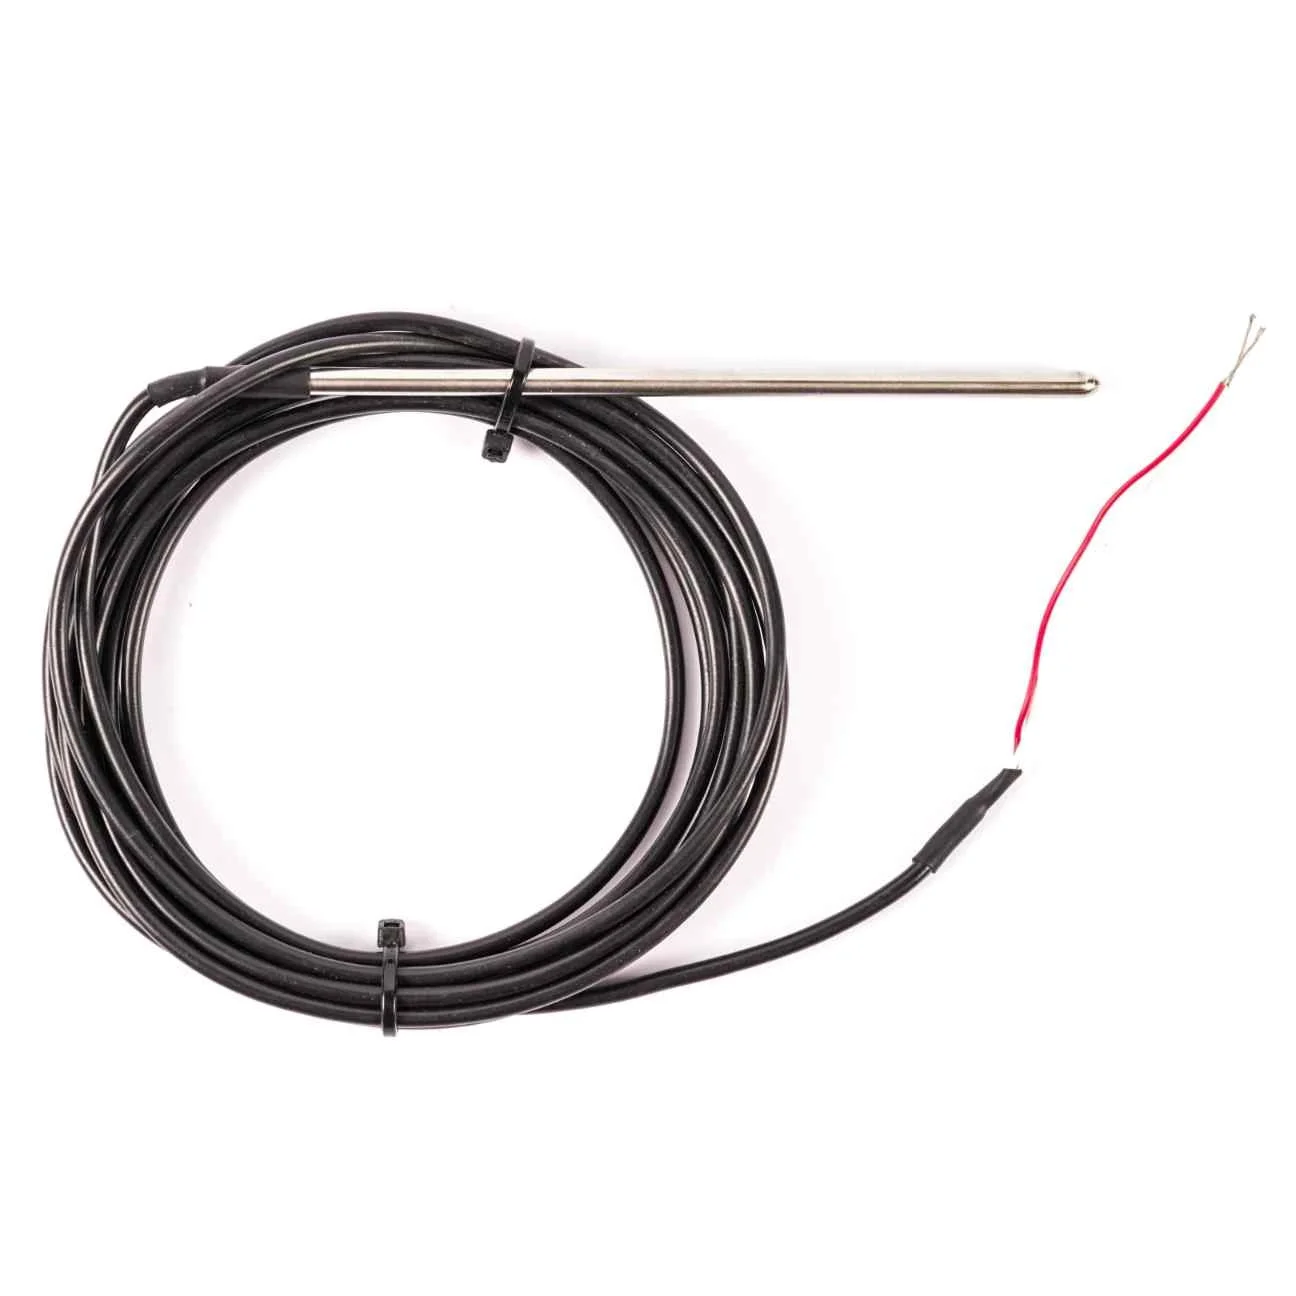
- Visual Check:
- Inspect tip, wires, and sheath for damage or corrosion.
- Confirm there are no cracks or visible breaks.
- Verify Polarity:
- Thermocouples are polarity-sensitive. Reversed +/− leads can cause offset readings.
- Make sure +ve and -ve legs are matched correctly through the full cable length.
- Continuity Test:
- Set multimeter to continuity or diode mode.
- Connect one probe to each wire.
- If it beeps, the circuit is intact. If it shows “OL” or no beep, the sensor is likely broken.
- Move the Wires (Wiggle Test):
- If readings drop out while moving, there may be an intermittent fault or internal break.
- Cable Check:
- Confirm correct compensating cable is used and properly rated for temperature.
Do not use copper wire as an extension—it introduces errors.
How to Check a Faulty RTD (Pt100 Sensor)
Tools Needed:
- Multimeter with Ohms (Ω) function
Step-by-Step:
- Visual Check:
- Inspect tip and casing.
- Look for cracks, burns, or exposed wires.
- Resistance Check:
- Set multimeter to Ω (Ohms).
- Connect probes across the sensor leads:
- For 2-wire: test directly
- For 3-wire/4-wire: test between same-colored wires
- Expected Readings (for Pt100):
- 0°C = 100 Ω
- 100°C = ~138.5 Ω
- 200°C = ~175.8 Ω
- Interpreting Results:
- OL or no reading = open circuit
- 0 Ω or very low = short circuit
- Wrong or fluctuating readings = degraded or broken sensor
Additional Steps If You Still Have Issues
| Step | Applies To | Notes |
|---|---|---|
| Check polarity of leads | Thermocouples | RTDs are not polarity-sensitive |
| Verify cable type | Thermocouples | Use matching compensating cable |
| Inspect for local heat interference | Thermocouples & RTDs | Nearby heat sources can distort readings |
| Check controller input settings | Thermocouples & RTDs | Match controller input type to sensor (e.g., Pt100, Type K, etc.) |
| Check transmitter signal configuration | Thermocouples & RTDs | Standard signal: 4–20 mA |
| Review error codes | Thermocouples & RTDs | Consult the controller’s manual for interpretation |
Still Unsure? We’re Here to Help
If you’re still unsure whether your sensor is at fault, contact our expert team:
📞 01246 261999
📧 websales@peaksensors.com
Or browse our full range of high-quality Temperature Sensors built for industrial use.
Frequently Asked Questions (FAQ)
What does “Open Circuit” mean on my controller?
This means your sensor isn’t properly connected, or there’s a break in the circuit.
Can I use any cable to extend a thermocouple?
No, only matching compensating cable should be used, or you’ll get inaccurate readings.
How often should sensors be calibrated or replaced?
This depends on usage and environment. Typically, calibrate annually and replace as needed or when symptoms appear.
What’s the difference between RTD and thermocouple faults?
Thermocouples often show erratic or reversed readings when faulty, while RTDs may show wrong resistance or complete failure.
Contact Peak Sensors
The above guide is aimed at helping you identify problems with your resistance thermometers and thermocouples. Peak Sensors are experts in temperature sensors and a shortcut to solving your RTD or thermocouple problems is to contact us. We can help solve your temperature sensor problems and either repair or manufacture replacement sensors.